
Set up your L2 trading wallet
Before placing your first trade on a perpetual decentralized exchange (perp DEX), you need a dedicated wallet configured for the specific Layer 2 network. This setup ensures you have the base assets for trading and the native tokens required for gas fees. Connecting to the wrong chain or lacking sufficient funds are common beginner mistakes that can halt your trading workflow.
1. Choose a compatible wallet and network
Select a non-custodial wallet like MetaMask or Rabby that supports your chosen L2, such as Arbitrum, Optimism, or Base. Add the L2 network to your wallet by entering the official RPC details found on the L2’s official website. Never rely on third-party RPC URLs for trading, as they may be compromised or rate-limited.
2. Fund your wallet with ETH and USDC
Most perp DEXs on L2s use ETH for gas and USDC (or the L2’s native stablecoin) for margin collateral. Transfer these assets from a centralized exchange or bridge them from Ethereum Mainnet. Ensure the amount covers both your initial margin deposit and a buffer for transaction fees.
3. Connect to the perp DEX interface
Navigate to the perp DEX’s official web interface and click "Connect Wallet." Authorize the connection in your wallet pop-up. Once connected, verify that the network indicator in the top right corner matches the L2 you funded. If it shows "Ethereum Mainnet," switch networks manually to avoid failed transactions.
Open your wallet settings and select "Add Network." Enter the official RPC URL, Chain ID, and Currency Symbol for your target L2 (e.g., Arbitrum One). Save the configuration.
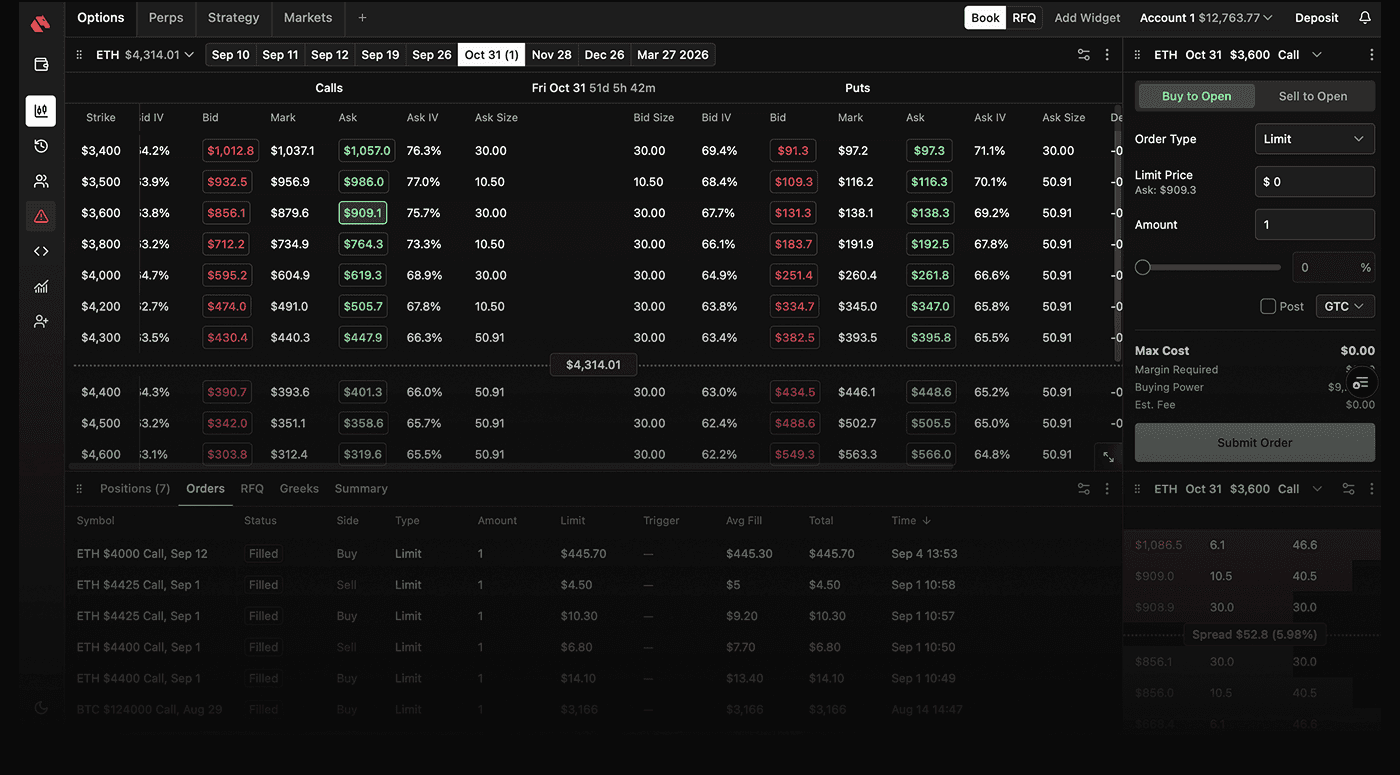
Send ETH for gas and USDC for margin from your exchange or mainnet wallet to your L2 address. Use a trusted bridge if moving from Ethereum Mainnet, and wait for the bridge confirmation.
Visit the perp DEX website and click "Connect." Ensure the wallet displays the correct L2 network balance. If the network is incorrect, switch it before depositing funds.
By following these steps, you establish a secure and functional environment for onchain perp margin trading. Always start with small amounts to familiarize yourself with the interface and fee structure before scaling up your positions.
Choose cross or isolated margin mode
On L2 perpetual DEXs, margin mode dictates how much of your wallet is at risk when a trade moves against you. This choice directly impacts your liquidation price and capital efficiency. Selecting the wrong mode can turn a manageable drawdown into a total loss.
Cross-margin pools all available collateral in your account wallet to support open positions. If your USDC balance is $1,000 and you open a position requiring $100 margin, the other $900 acts as a buffer. This allows you to withstand larger price swings without being liquidated, provided your total wallet value remains sufficient. It is ideal for strategies where you want to minimize liquidation risk by leveraging idle funds.
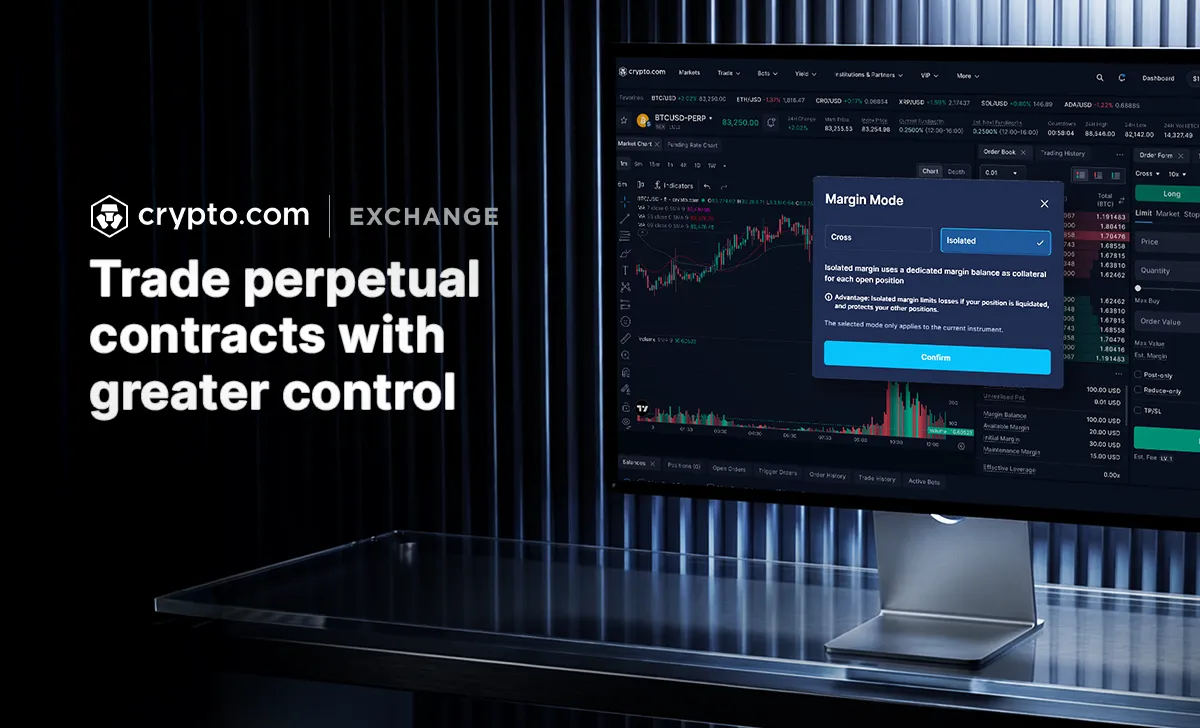
Isolated margin restricts the collateral to the specific position only. In this mode, the $1,000 in your wallet is irrelevant to the trade. Only the $100 allocated to the position is at risk. If the position is liquidated, you lose only that $100, preserving the rest of your capital. This mode offers precise risk control, capping your maximum loss to the allocated amount regardless of market volatility.
The decision comes down to risk tolerance. Cross-margin offers higher capital efficiency and lower liquidation frequency but exposes your entire wallet balance to liquidation risk. Isolated margin limits losses to the specific trade, protecting your overall portfolio but requiring more frequent margin top-ups or resulting in faster liquidations.
| Feature | Cross Margin | Isolated Margin |
|---|---|---|
| Collateral Pool | Entire wallet balance | Position-specific only |
| Liquidation Risk | Higher (entire wallet at risk) | Lower (capped to position) |
| Capital Efficiency | High (idle funds support trades) | Low (funds locked per trade) |
| Best For | Long-term holds, low volatility | High leverage, short-term trades |
Most L2 interfaces allow you to switch modes before opening a position. Once a position is open, switching modes is often restricted or requires closing and reopening the trade. Check your specific DEX documentation to understand the mechanics, as some platforms may require manual margin transfers between isolated accounts and the main wallet balance.
Calculate leverage and position size
Determining the right leverage and position size is the difference between a controlled trade and a liquidated account. Onchain perpetual exchanges allow you to select your leverage multiplier directly in the interface before opening a position. Leverage is simply the ratio between your total trade size and your deposited margin. For example, if you deposit $1,000 in margin and select 10x leverage, your total position size becomes $10,000. This multiplier amplifies both your potential profits and your exposure to price volatility.
To maintain a healthy liquidation price, you must calculate how much of your margin is consumed by price movement against your position. The liquidation price is the point where your margin balance falls below the maintenance margin requirement. If you use high leverage, even a small adverse price move can wipe out your collateral. A common rule of thumb for onchain trading is to use lower leverage than centralized exchanges allow, as L2 fees and slippage can erode margins faster than expected.
By carefully calculating these variables, you ensure that your onchain perp margin is used efficiently. This approach minimizes the risk of unexpected liquidations and allows you to trade with a clear understanding of your exposure. Always verify your calculations using the specific parameters provided by the L2 exchange you are using, as maintenance margin requirements can vary between protocols.
Monitor funding rates and open interest
Perpetual futures lack an expiration date, so the funding rate is the mechanism that keeps the contract price tethered to the underlying spot price. You pay or receive this rate every eight hours (or more frequently on some L2s) depending on whether the market is in contango or backwardation. Ignoring these payments turns a short-term trade into a slow bleed.
To track your costs, look at the funding rate in your position details. A positive rate means longs pay shorts; a negative rate means shorts pay longs. If you are holding a long position during a period of sustained positive funding, you are effectively paying a premium to keep the trade open. High rates often signal overheating, suggesting the market may be due for a correction.
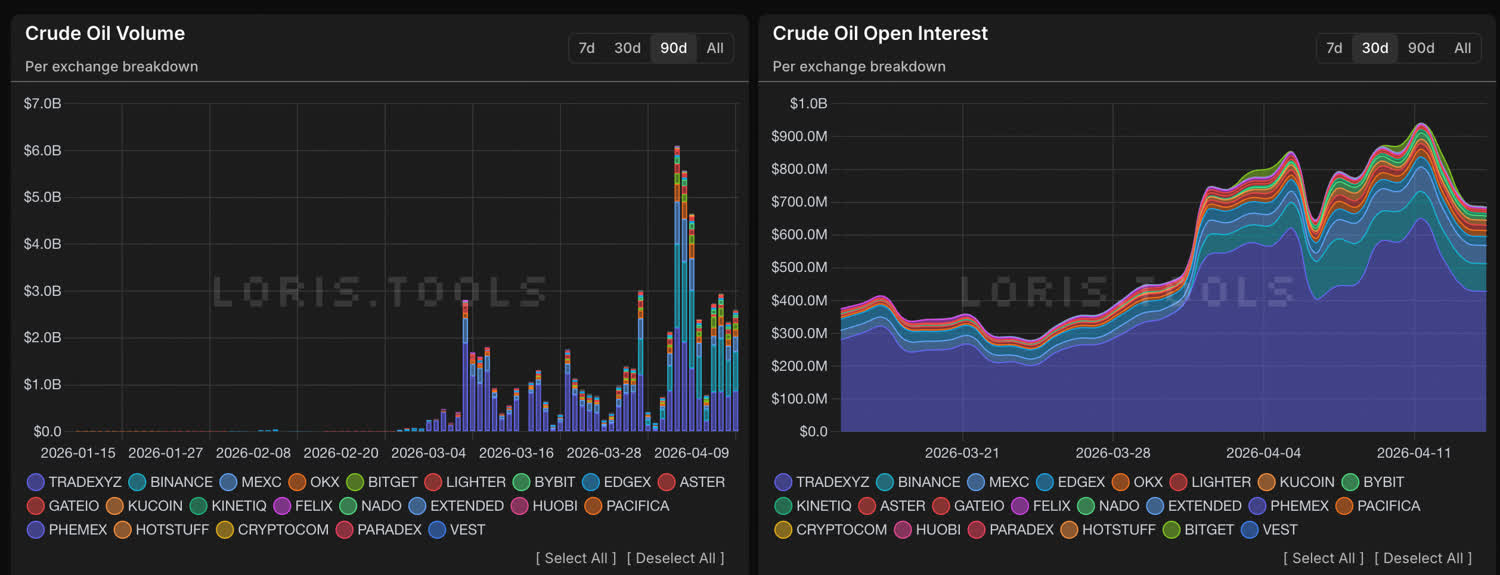
Open interest (OI) measures the total number of outstanding contracts. Rising OI alongside rising prices indicates strong bullish conviction, while rising OI with falling prices suggests aggressive shorting. A sudden drop in OI often precedes a volatility spike as leveraged positions are liquidated.
"Perps let traders speculate on price direction with leverage... but without ever holding the token. The trade-off is ongoing funding costs and the risk of losing all deposited collateral through liquidation."
— MetaMask
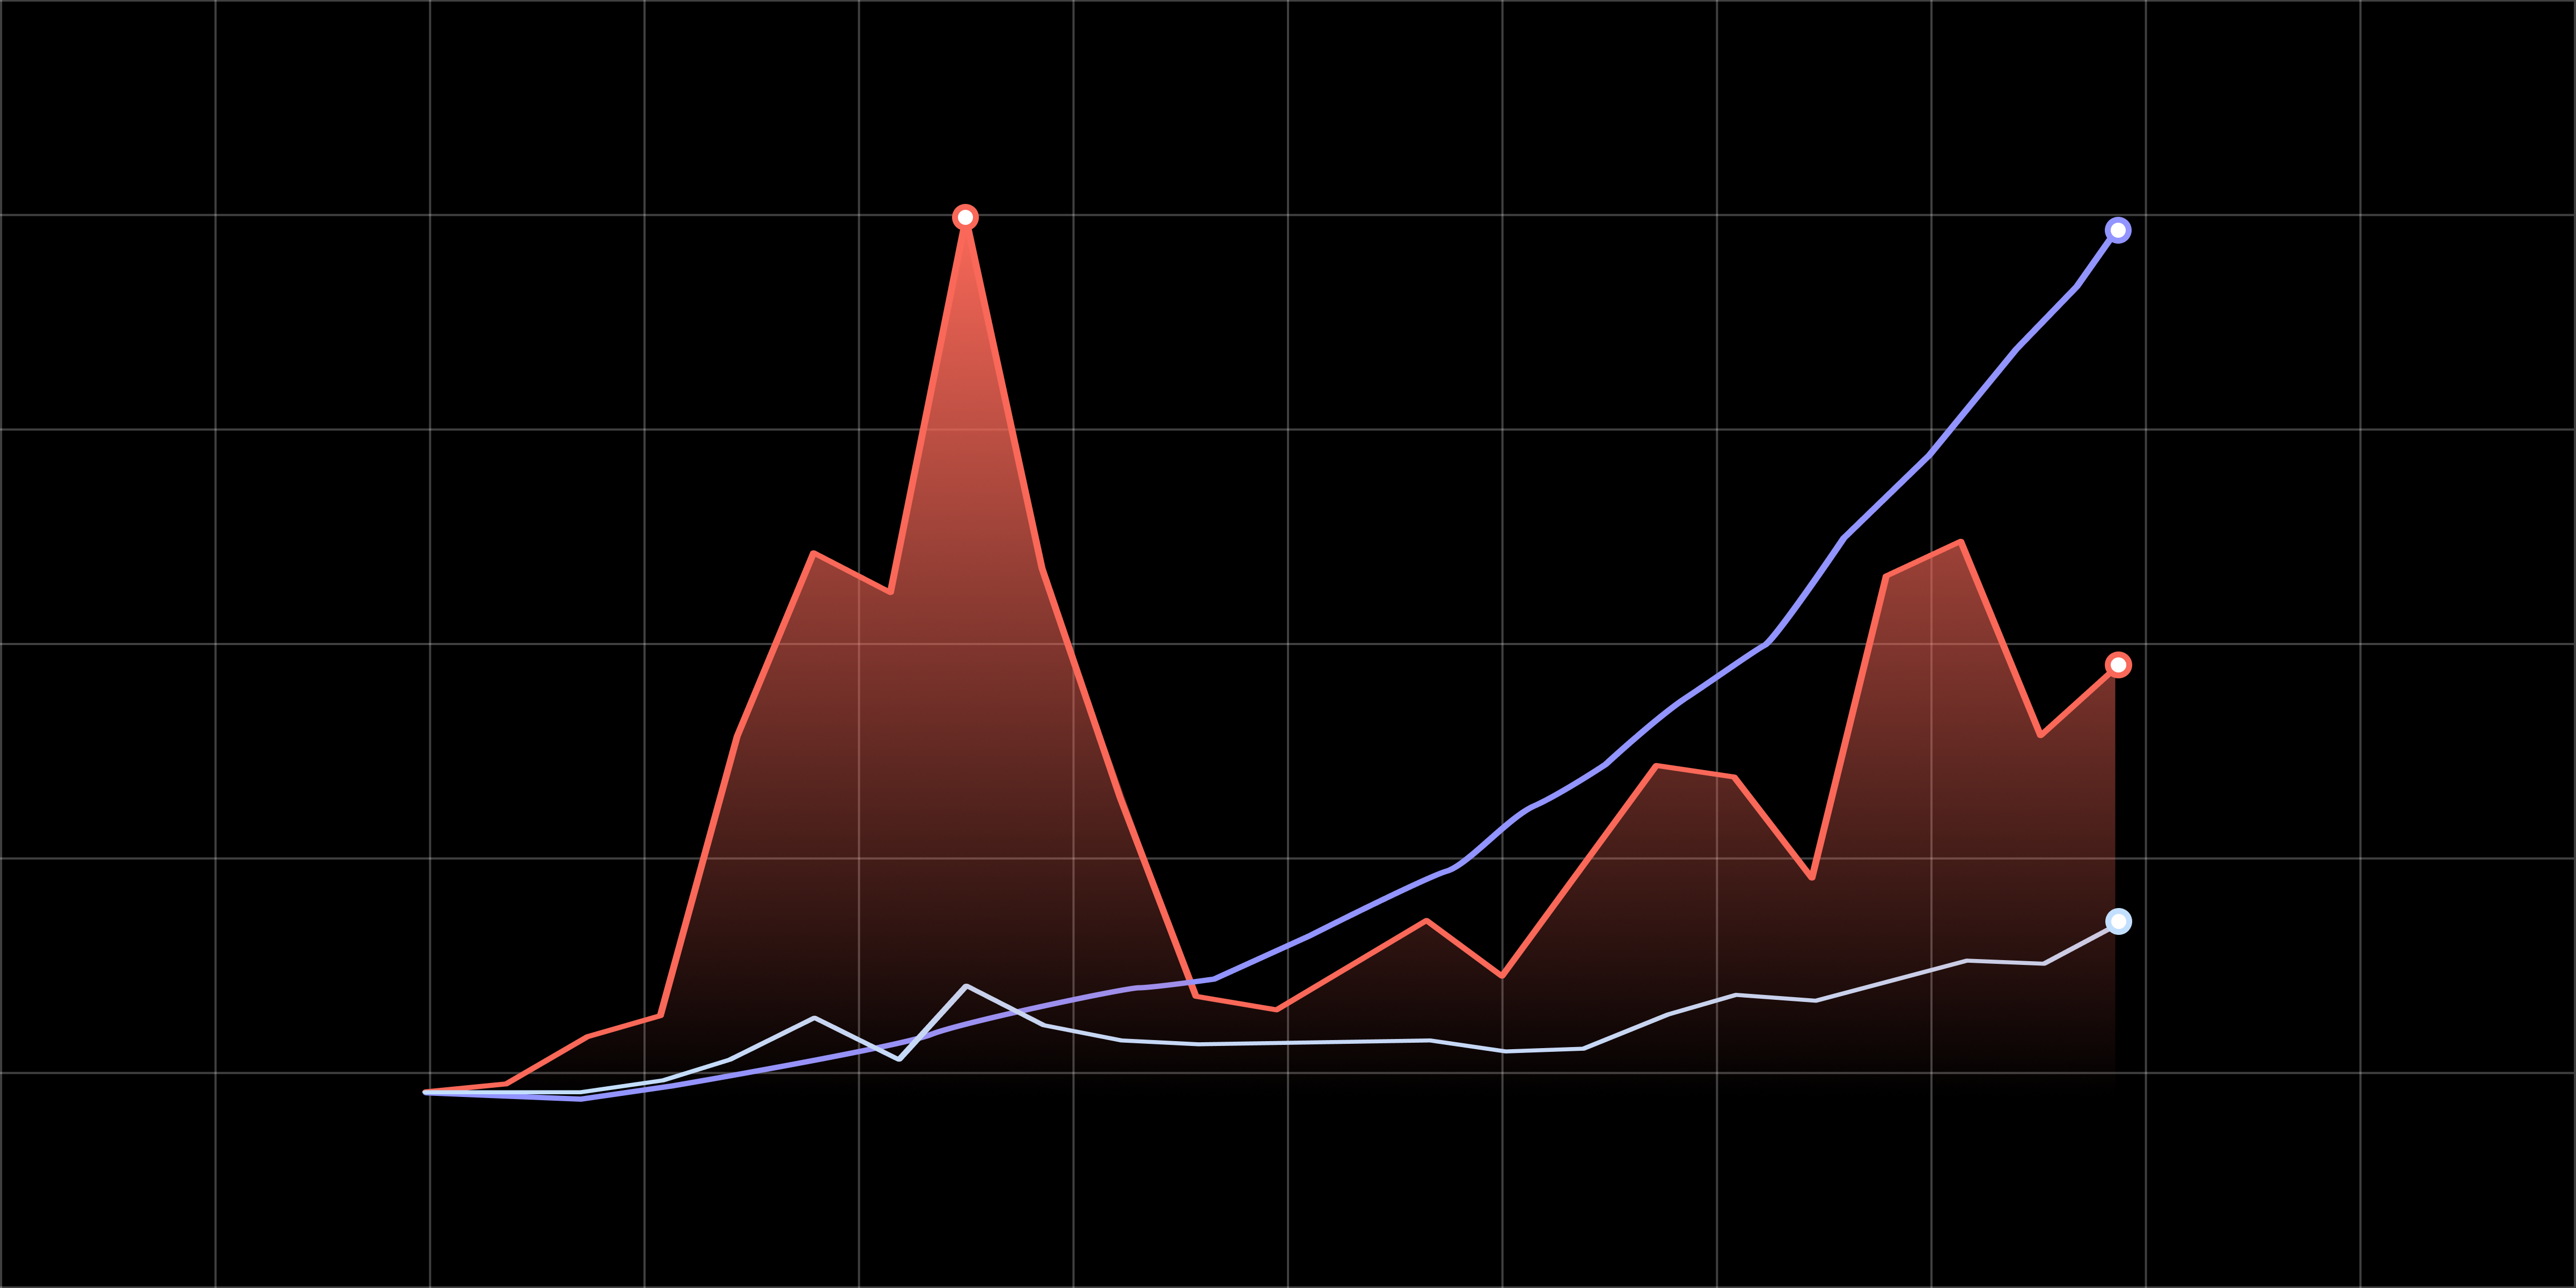
Onchain perpetuals are growing fast, with open interest surging from under $100 million to significant multi-billion dollar levels as liquidity migrates from centralized exchanges to decentralized protocols. This growth means you must be more diligent about monitoring on-chain metrics rather than relying solely on CEX data.
Manage liquidation risk actively
Liquidation on onchain perp margin platforms happens when your collateral value drops below the maintenance threshold. Because L2s execute trades on-chain, the settlement is instant and irreversible. You cannot appeal a liquidation; the protocol simply seizes the position to cover the loss.
Preventing this outcome requires active monitoring, not just setting a position and walking away. The following steps outline how to manage your margin buffer during volatility.
Most perpetual DEXs offer both cross-margin and isolated margin modes. Cross-margin pools all your account balance into one risk pool, meaning a liquidation on one position can drain your entire wallet. Isolated margin limits the risk to the specific collateral assigned to that trade. If the position liquidates, only those funds are lost. For volatile assets, isolate your margin to protect your remaining capital.
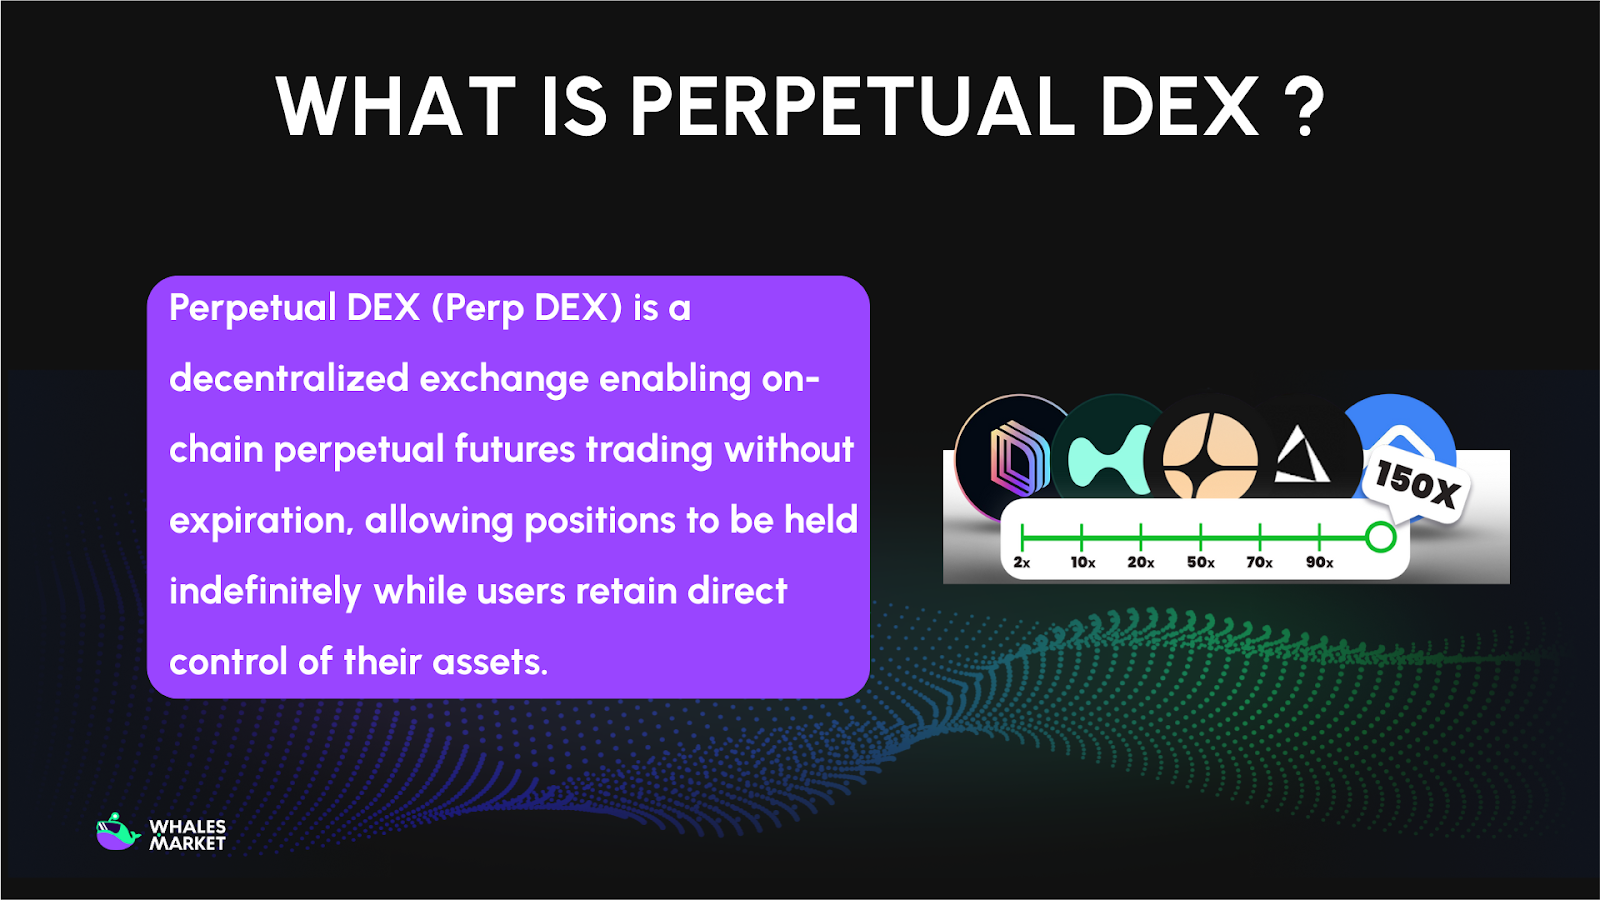
Leverage amplifies both gains and losses. If you are holding a 20x leveraged position, a mere 5% adverse price move wipes out your entire margin. Before high-impact events like CPI data releases or Fed announcements, consider reducing your position size or lowering your leverage multiplier. This increases the price distance to your liquidation point, giving your trade more room to breathe during market swings.
Many onchain interfaces allow you to deposit additional collateral into an existing position without closing it. If you believe the market dip is temporary, adding margin lowers your effective leverage and pushes the liquidation price further away. This is often cheaper than closing and re-entering the trade, as it avoids transaction fees and slippage from market orders.
You cannot watch the L2 block space 24/7. Set price alerts at levels close to your liquidation price so you can react quickly. Additionally, use trailing stops or take-profit orders if the DEX supports them. These automated orders close your position when the price hits a certain threshold, locking in profits or cutting losses before a full liquidation event occurs.
Checklist
-
Verify margin mode (isolated vs. cross) before opening
-
Calculate liquidation price and set alerts 10% away
-
Confirm you can add margin without network congestion
-
Review funding rates to avoid negative drift
Frequently asked questions about perp margin
Understanding the mechanics of margin and leverage is essential for managing risk on Layer 2 networks. These components determine how much capital you need to post and how quickly your position can grow—or disappear.
No comments yet. Be the first to share your thoughts!