Set up your cross-chain wallet
To deploy onchain perp margin across different networks, you need a self-custodial wallet that supports multiple chains. This setup acts as the foundation for your trading activity, allowing you to manage collateral and execute trades without relying on a centralized exchange. MetaMask is a standard choice for this workflow because it natively supports EVM-compatible chains like Ethereum, Arbitrum, and Optimism, which are common hubs for perpetual futures markets.
1. Install and secure your wallet
Begin by downloading the official MetaMask browser extension or mobile app. During setup, write down your secret recovery phrase on paper and store it in a secure, offline location. Never share this phrase with anyone or enter it into a website. This phrase is the only way to recover your funds if you lose access to your device.
2. Add network configurations
Once your wallet is initialized, ensure you have the correct networks selected. Most onchain perp protocols operate on Layer 2 chains to reduce gas fees. You can add these networks manually through the wallet’s network selector or by visiting the official protocol website, which often provides one-click add buttons. Verify the Chain ID and RPC URL for each network to avoid sending funds to the wrong chain.
3. Bridge assets to the target chain
You cannot use onchain perp margin with assets stuck on your mainnet. You need to bridge stablecoins like USDC or native tokens like ETH to the specific chain where your chosen protocol lives. Use a reputable bridge aggregator or the official bridge interface provided by the Layer 2 network. Always double-check the destination address and network before confirming the transaction.
4. Verify your balance
After bridging, refresh your wallet view to confirm the assets have arrived. Check the token balance on the specific network you intend to trade on. Having sufficient funds is the first step toward understanding initial margin, which is the collateral required to open a trade, and maintenance margin, the minimum amount needed to keep that position open.
Download the official MetaMask extension from metamask.io and securely back up your recovery phrase. This ensures you have full custody of your keys before interacting with any DeFi protocols.
Add your target L2 networks (e.g., Arbitrum, Optimism) to your wallet. Most perp markets live on these chains to offer lower fees and faster settlement times compared to Ethereum mainnet.
Transfer USDC or ETH from your mainnet balance to the target chain using a trusted bridge. Ensure you have enough native gas tokens on the destination chain to pay for transaction fees.
With your wallet configured and funded, you are ready to connect to a perp protocol. The next step is to deposit your bridged assets as collateral into the protocol’s margin account.
Choose a perp DEX with unified margin
Selecting a perpetual DEX that supports unified margin is the most critical step for cross-chain efficiency. Unified margin (often called cross-margin) allows a single pool of collateral to back all open positions across different assets and chains. This contrasts with isolated margin, where funds are locked to specific positions, often leading to fragmented capital and higher liquidation risks.
When evaluating platforms, prioritize those offering true unified margin accounts. This feature ensures that profitable positions can offset losses in others, reducing the need to constantly bridge assets or manage multiple wallets. Look for DEXs that explicitly support this across their supported chains, as this is the foundation of efficient onchain perp margin usage.
To help you compare options, here is a breakdown of key features for leading perp DEXs. Focus on their margin mode support, fee structures, and chain availability.
| DEX | Margin Mode | Supported Chains | Maker/Taker Fees |
|---|---|---|---|
| Hyperliquid | Unified/Cross | Hyperspace (L1) | 0.00% / 0.05% |
| Aerodrome Perps | Unified | Base | 0.00% / 0.04% |
| GMX | Isolated/Cross | Arbitrum, Polygon | 0.10% / 0.10% |
| Gains Network | Unified | Arbitrum, Gains Network L2 | 0.00% / 0.10% |
Always verify the margin mode settings before depositing funds. Even if a DEX offers unified margin, ensure your account is configured correctly to leverage cross-asset collateral. This simple check can prevent unnecessary liquidations and maximize the efficiency of your onchain perp margin strategy.
Deposit collateral and set leverage
Before opening a position, you must fund the margin account with the required collateral. This step bridges your wallet and the trading protocol, establishing the capital base for your onchain perp margin strategy.
1. Approve and deposit your asset
Navigate to the deposit interface of your chosen onchain perp protocol. Select the asset you intend to use as collateral (e.g., USDC, ETH, or BTC). If this is your first time using this specific token on the platform, you will need to approve the smart contract to spend your funds. Once approved, enter the amount and confirm the transaction. This deposits the funds into your margin account, making them available for trading.
2. Understand initial vs. maintenance margin
Setting leverage requires understanding the difference between initial and maintenance margin. Initial margin is the collateral required to open a trade, while maintenance margin is the lower ongoing minimum required to keep the position open [src-serp-1]. Perps require margin, often a small percentage of notional, which is typically more capital efficient for intraday-to-multi-day directional trades [src-serp-6]. Your position will be liquidated if your account equity falls below the maintenance threshold.
3. Select your leverage ratio
Most onchain platforms allow you to choose a leverage multiplier, such as 2x, 5x, or 10x. This multiplier determines your buying power relative to your deposited collateral. Higher leverage increases potential returns but also accelerates the risk of liquidation. A common practice is to start with lower leverage (2x-3x) to manage volatility, especially when trading across different chains where liquidity may vary.
4. Confirm and open the position
After setting your leverage and reviewing the required margin, confirm the transaction. The protocol will lock the necessary initial margin from your deposited funds and open the position. You can now monitor your position’s health factor, which tracks the distance between your current equity and the maintenance margin level. Keep an eye on funding rates and market movements to avoid unexpected liquidations.
Monitor liquidation prices and funding
Active risk management is the difference between a sustainable onchain perp margin position and a wiped-out account. You need to track two specific metrics: your liquidation price and the funding rate. These numbers dictate your safety buffer and your ongoing cost of carry.
Track your liquidation buffer
Your liquidation price is the point where your collateral is insufficient to cover losses, triggering an automatic sale of your position. In cross-margin mode, this price is calculated against your total account equity, not just the isolated funds for one trade. Understanding the difference between initial margin (the collateral required to open the trade) and maintenance margin (the minimum required to keep it open) is essential for calculating your true risk.
To stay safe, maintain a healthy distance between the current market price and your liquidation price. A common rule of thumb is to never risk more than 1% of your total account equity on a single trade, ensuring that normal market volatility doesn't trigger a cascade of liquidations. If your liquidation price is too close to the current price, you must either add more collateral or reduce your leverage.
Monitor funding rates
Perpetual contracts do not expire, so they rely on funding rates to keep their price anchored to the underlying spot asset. This rate is a periodic payment exchanged between long and short traders. When funding is positive, longs pay shorts; when negative, shorts pay longs.
For your onchain perp margin strategy, funding rates represent a continuous drag or boost to your PnL. If you are holding a long position in a bull market with high positive funding, you are paying a premium to keep that position open. Conversely, negative funding can provide a yield offset for long holders. Check the current funding rate before entering or holding a position to understand your daily or eight-hour costs.
Close positions and withdraw funds
Before moving your capital, you must close your onchain perp margin positions to realize any profit or loss. This step converts your leveraged exposure back into your underlying collateral. Once the position is closed, you can withdraw those funds to your main wallet or bridge them to another chain.
1. Close the active position
Navigate to the trading interface where your open positions are listed. Select the specific position you wish to exit and click Close or Market Close. This action executes a trade in the opposite direction of your entry, neutralizing your exposure. Ensure you verify the final PnL (Profit and Loss) before confirming, as on-chain transactions are irreversible.
2. Confirm collateral balance
After closing the position, check your account balance to confirm the returned collateral. The funds should now be available in your trading wallet. If you are using cross-margin, ensure that any remaining margin is sufficient for other open positions, or that the full amount is ready for withdrawal.
3. Withdraw to main wallet or bridge
Initiate a withdrawal from the perp DEX to your primary wallet or a bridge protocol. Select the asset and the destination chain. Be aware of network gas fees and bridge slippage. For cross-chain efficiency, use a reputable bridge with low fees and high security to move your funds securely.
Locate your open position in the trading interface. Click Close to execute a market order that neutralizes your exposure. Verify the final PnL before confirming the transaction.
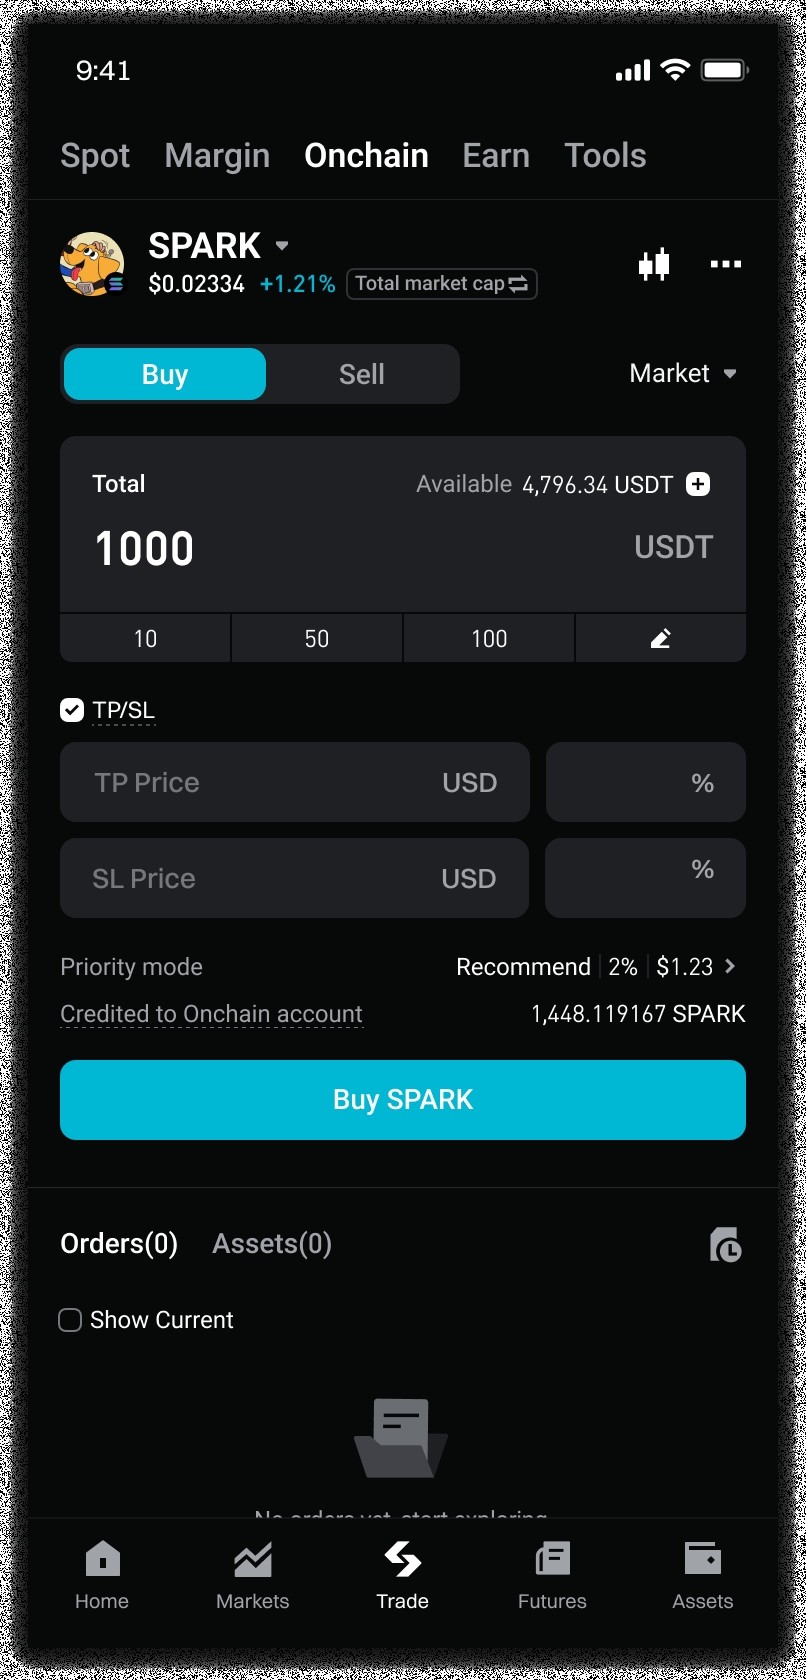
Check your account balance after the position closes. Ensure the collateral has been returned to your trading wallet and is available for withdrawal.
Initiate a withdrawal to your main wallet or a bridge. Select the destination chain and confirm the transaction, keeping gas fees and bridge slippage in mind.
Common questions about onchain perp margin
Understanding how onchain perp margin mechanics work is essential for managing risk in decentralized perpetual futures. Below are answers to frequent questions about collateral, leverage, and profitability.
No comments yet. Be the first to share your thoughts!